Showing posts with label photography. Show all posts

Sunday, June 19, 2011

Condo Reflection

The other night I was out to take some photos of the full moon. They turned out OK. But before I packed up for home, I turned the tripod towards the condos on Nun's Island. The water was lit up like a Christmas tree with all the different color lights coming out of the windows.

I was working with the 55 - 250 mm lens because I had been shooting the moon. I took four shots with different shutter speeds. This was the first at 10 seconds and ƒ16. At 15 seconds and ƒ11 the background sky was way too light. I dialed back up to ƒ16 and still it was a little too light. The 20 second shot was nice but the colors were a bit blurred from the movement of the water. After a crop in Lightroom this is the finished product. As always, click on the photo for a larger view.

Wednesday, June 15, 2011

First HDR Experiment

On Monday, I finally opened up Photomatix Pro.4.0.1. I had done some bracketed shots but none that I felt would be utilizing the program in its intended function. When out last week I had taken a series of photos of cloud cover over the river, and clicked off a bracketed set to see if they might be worthy guinea pigs.

This was the original shot.


Then the one step down exposure image.


And finally the one step up exposure frame.


After loading the three raw files into Photomatix Pro, it looked after blending them and giving you a composite image to start with. After spending 20 minutes watching a You Tube tutorial, I set about working on the Tone, Contrast, Highlight and Shadow section of the editing panel. The end result :

28 MB and too big to upload to Blogger. I will look for a way to rectify that and try and post it later.

Ok. New rule. Do not try and upload .tif files to the internet. Just a little too big. So after converting to jpeg this is what the finished product looked like:


Now this isn't the best representation of a HDR , but it was a start off point and now I will be able to look for bracketed shots that will be done justice by the process.

Monday, June 13, 2011

Pushing to Find Subjects On Rainy Days.

One of my long time peeves has been rainy days while on vacation and losing camera time with my nieces and nephews. I only get to see them once a year and have to make the most of it. One tactic I have used over and over when they were young is pointing out something outside to get them near a window. Have your camera ready, you will only have a few seconds before they turn to you asking 'where?!"


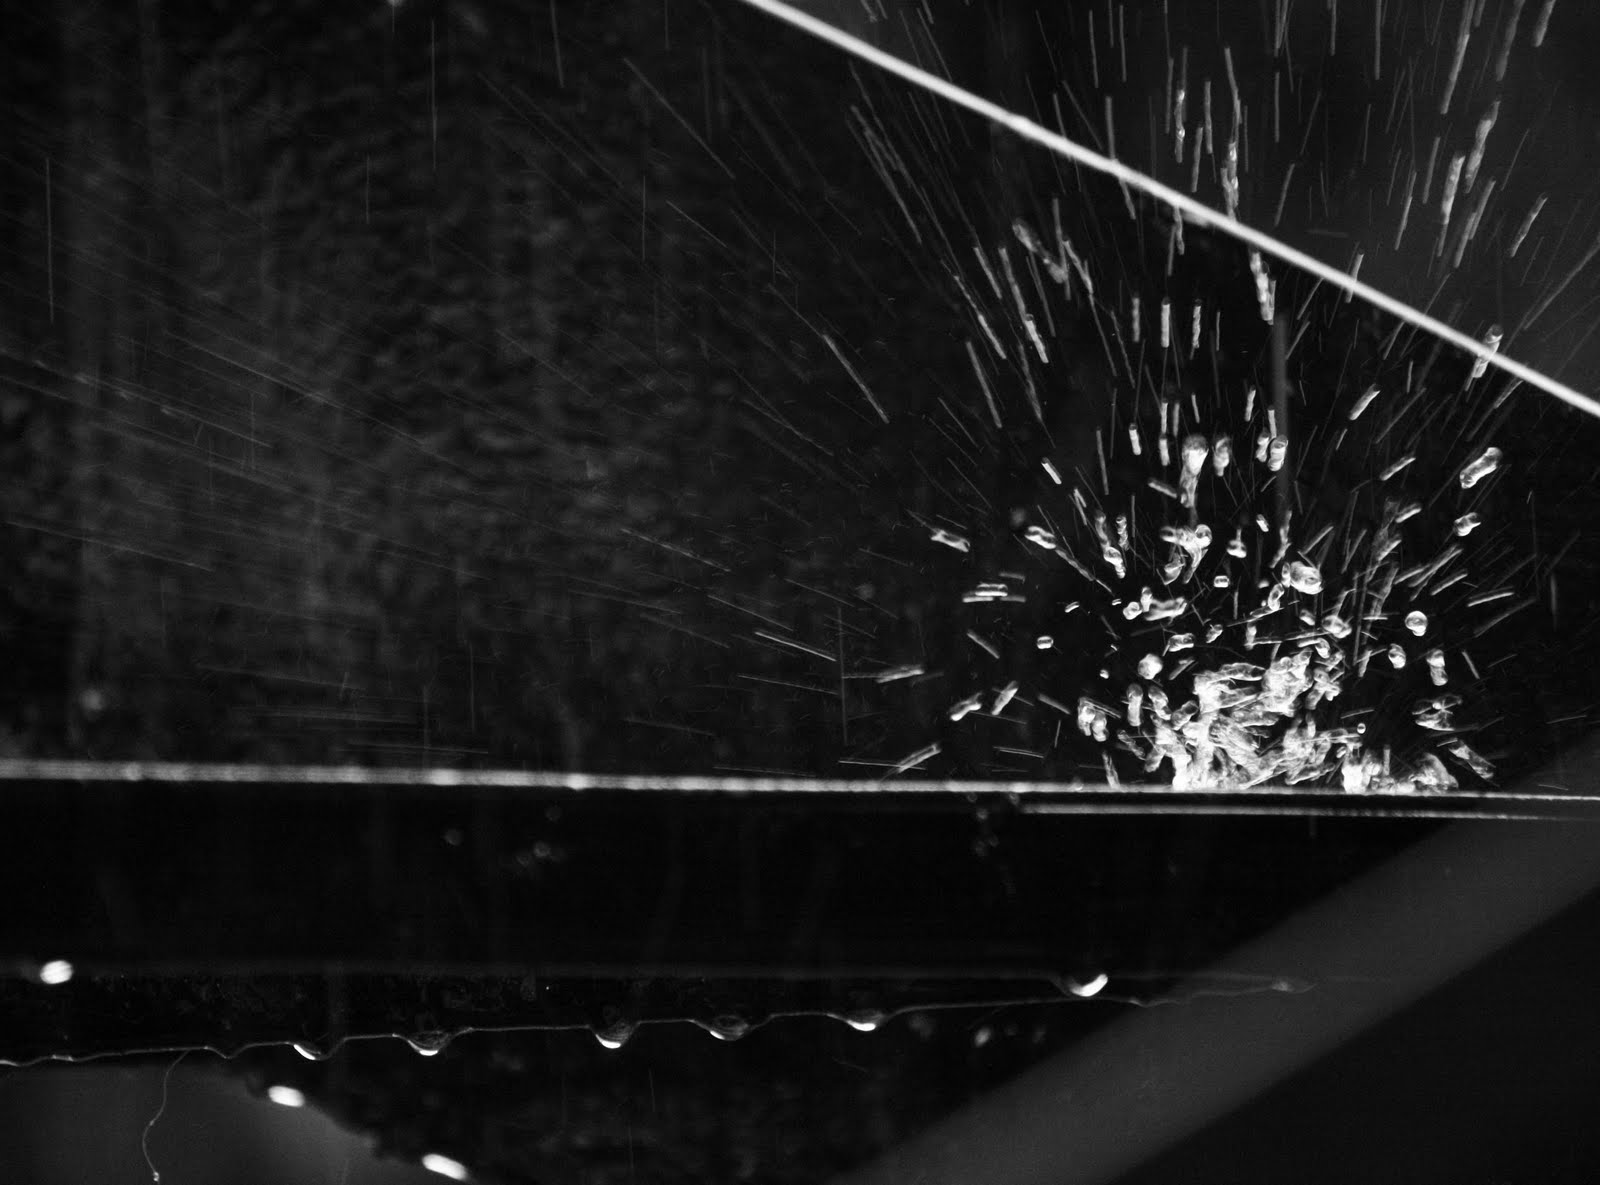
Another favorite of mine in heavy rain is to get some shots of rain falling along an eave. This one just happened to get framed nicely by a screen door.


The above pictures were all taken with the Kodak DX 6490. I wasn't afraid of taking it out in the rain, but didn't want top push it unnecessarily. And it was compact enough to fit under the peak of my ball cap when shooting. Now with the 1000D that isn't an option. So I have to play around and find new ways to make the most of rainy days.

As anyone who watched the Canadian Grand Prix Formula 1 race yesterday could see, we had a bit of rain here in Montreal. While the race was red flagged during the hardest part of the downpour, I took the camera out back on the covered balcony and practiced focusing with the telephoto lens and doing multiple shot bursts.

This photo is a little grainy . I had the ISO jacked to 1600 because I wanted a fast shutter speed, but found it was a little dark under the storm clouds. This is shot from 3.4 m ( 10 ft ) away with the telephoto. As always click on the photos for a larger view. And yes, that is a single dog hair in the bottom left hand corner. From 10 ft away.

Sunday, June 12, 2011

Season To Season

In the spring, while out for a walk, my eye was drawn to a building that was covered in vine stems. The building was gorgeous and made a nicely composed shot.


A few days ago I took the same route home after taking pictures on the waterfront. It looks a little different when it's all dressed up. The crazy thing , is that this house has no protection from the river, the winds must be intense in the winter, but still the Ivy holds on season to season.


I want to do a four season set of this place. Remember to click on the photos for a larger view.

Saturday, June 4, 2011

Depth of Field

One of the things that has always amazed me about photography is depth of field. Once I had a handle on how to manipulate the different elements of the camera in Manual mode, my goal was to to learn to take depth of field photos not just by accident, but on purpose. The first couple of pictures are examples of getting depth of field pictures in Auto mode by getting a tight focus on an object and hoping it turned out.


By the third month with the camera I was ready to start trying to take some shots in the AV mode, adjusting the aperture value to get the desired amount of depth of field.
This little bird turned out OK, but the color is washed out. I should have gone up a couple more stops from 8 to 11 or so.


And finally five months in, the first Aperture priority shot that turned out exactly as I envisioned it. Not the most interesting subject matter, but it made me happy.


Now that this last element was in place I was ready to start taking photos confident that I knew how to tell the camera what I wanted them to look like.

Friday, June 3, 2011

Wellington Sidewalk Sale

I will continue with the learning curve posts soon, but I had to take advantage of some great weather and a Sidewalk sale a block away. Most of these were taken in Manual mode, ISO 100, 5.6 f stop and just playing with the shutter speed to adjust for shots in the shade. The first one was taken ƒ/ 7.1 to bring out the blue in the sky.


I will probably have more new stuff this weekend as it is supposed to be another stellar day tomorrow and the Tour De L'Ile bike race is taking over the island on Sunday. Should be good practice for the Sports mode and telephoto lens.

Thursday, June 2, 2011

ISO - The Next Step

The first thing I played around with in the creative modes on the Canon was the Manual Exposure Mode. This leaves the shutter speed, f stop and ISO in the photographer's hands. I wanted to get a good handle on one thing at a time, so I started with ISO. Still housebound due to extreme temperatures, the next obvious subject was the dog. Not a toughie, because she isn't too excitable and will lay reasonably still for minutes at a time.

The room she was lying in has a large window and lights up well even under grey skies.I set the white balance to auto and adjusted the ISO to 1600. The f stop default in the mode was 5.6 and the shutter speed at 1/60. I also set the Picture Style to Monochrome for black & white and manually adjusted the focal length to 43mm. This was the first non flash picture taken.


Not bad. A little heavy on the highlights on her belly. I took a look at the White Balance settings and saw there was one for overcast conditions. I set it, then snapped another one at 55mm.


This turned out pretty good too. I was pretty exited about getting images this clear and not being dependent on the flash like the Kodak. The next project would be waiting for a slightly warmer day and trying the ISO experiments outside. I had to wait six days for the first opportunity. We finally got a blustery day with a high of -8C. Time to rock 'n'roll. The day was overcast again, but I was thankful for that to avoid a lot of glare off of the snow. Went for a walk down by the river and practiced doing shots of bare trees and shrubs.

I reset the White balance for sunny conditions, since it was still pretty bright out there. Again set it to Manual mode and Monochrome. Lastly I set the ISO to 400. Completely blown out white shot, so I dialed it down to 100, the lowest setting.


Not that great. Still quite whited out. I thought that it might be worsen by the sky which looked a lot darker, but was still the sky and emitting light. Reset the white balance to overcast and tried one more shot with the river and Nuns Island as a backdrop.

Nope. It was clear that the wind coming up didn't help the photo at all. But there was still the light haze to everything. Back to the drawing board. Tomorrow I'll show you what happened when I started playing with the shutter speed.

Tuesday, May 31, 2011

Warning: Kid Friendly Zone

Some people just don't have a knack for getting kids to sit still for a perfect picture. I don't believe this is something that would work for me. I'm a big guy. Kids are always wary around me for the first couple of days. Sit down shots are not going to work. So I rely on subterfuge and reverse psychology to make nice photos happen when I'm around kids. I never stoop to bribery. But if someone else has already loosened them up with a well timed treat I will be there to swoop in.


One of my favorite MOs is to walk outside and find a place to review and cull through my recent shots away from the kids. After a few minutes they will come find you. The silly things they do when they think you are busy make some of the best pictures. Especially if they are unaware you had the camera switched on. These two little girls avoided the camera all morning then were curious where it went.


Another is playing with the child and seeing what kind of mischief they can get into when they don't know the camera is on and ready to shoot. This only works well with one on one situations because you can steer the kid away from real trouble easier than trying to calm down three or four after they are wound up. It also works better with boys. Here is an example of a young man who thought it would be fun to splash water from a rain barrel and didn't know how cold it was going to be.


A good example of a way to get great photos with a group of kids is Hide & Seek. You can either follow the children around, or play as 'IT' yourself. Both ways give you all kinds of opportunity to catch them at their giddiest. Be prepared with an extra battery because they will want to see the pictures after each round to make sure you caught them.


And finally, the all time greatest way to get candid shots of kids in a group situation: The Kids Table. Hey, it gets them laughing, thinking you have been banished from the adult realm. It gives their parents a chance to get plates ready in peace and builds trust with the children. Just don't try stealing anybody's juice. they take this stuff seriously nowadays.


All of the above photos were taken with the Kodak DX6490.

Monday, May 30, 2011

The Relaunch

This page had fallen victim to the oldest blog pitfalls in the book – lack of direction and questionable motives. So, instead of looking out for the things that I find wrong with this fair city and province that I choose to call home, I have decided to turn it around and explore some of the stuff that are unique and beautiful about Lower Canada – with a camera.

I will first drop the two great footnotes that will define the new page. 1) I am a hobby shot. This is my learning curve with a camera. I’ve been taking pictures for years and finally got around to learning something about it. 2) I am a man without wheels. The stuff I visit and find to shoot will be decided by who I got where with. Most of the subject matter will be Montreal based. That doesn’t mean it will get boring. I promise to work hard to bring new and vibrant things to these pages.

Even though I take photos every day, I won’t necessarily be posting a new daily shot. Probably more like day off safaris spread out over the week. I will keep a stable of horses to trot out in an orderly fashion and try and spread out shots taken on the same outing even if they are not of the same subject matter.

For this first post I want to discuss some of the cameras I have owned. Like most teenagers, beer money was way more important than photography equipment. I bought a Vivitar snap shooter when I was 17. Flashy and blue. It was small and great for bringing along to punk rock shows and parties. It lasted me a couple of years before giving out. The only actual metal on the camera was the ring that held the wrist strap on.

After that came a Kodak Advantix T60. One of the APS rigs with the panoramic function. Went through about 50 rolls of film and did not have a lot of wasted shots because of focus problems. It had a flip up flash, so red eye was well under control also.

In 2004 I got a great deal on a Kodak DX6490 digital camera. It was a 4mp that had 10x optical zoom. I used it through until Christmas 2010 and it served me well over the years. By this time I was taking pictures every day. Pictures of the family. The dogs. Clouds. Out taking pictures in snow storms. In six years and two months I took 25,493 shots with that camera. I still keep it in my camera bag as a back up and if I need to shoot video. The realization that I would have to upgrade came one day when I bought a 4GB SD card and the camera would not recognize it. When it was built 128 MB and 256 MB cards were the craze.

For Christmas I got a Canon Rebel 1000D (XS) with the included 18-55 mm EFS lens. Since then I have added a kit that included an EFS 55–250mm lens, a lens hood, a UV, Polarizing and FLD filter kit, and a tripod. After six months of studying the manual and religiously reading online resources (the best of which I found to be Geoff Lawrence’s dot com Tutorials and Tips), I am ready to start sharing my learning adventures. Here we go!